( Flipkart profit calculator ) Master Your Flipkart Profit Margins: …
How to Sell on Blinkit: A Complete Guide for New Sellers
In today’s fast-paced world, consumers want everything delivered quickly—groceries, snacks, essentials, and even daily-use products. Blinkit (formerly Grofers) has emerged as one of India’s fastest-growing quick-commerce platforms, offering 10–20 minute deliveries in major cities. For businesses and retailers, this creates a massive opportunity to reach more customers and grow sales.
If you’re wondering how to start selling on Blinkit, this guide will walk you through the process step by step.
Selling on Blinkit gives your business an edge because:
Huge Customer Base – Millions of people use Blinkit daily for quick grocery and essential shopping.
Fast Deliveries – Blinkit’s hyperlocal model ensures your products reach customers in minutes.
Boost Brand Visibility – Your store and products appear directly in the app for local customers.
Low Entry Barrier – Small retailers and local shops can start selling without a heavy investment.
Related Posts
How to Sell on Myntra: Step-by-Step Registration & Onboarding Process …
Requirements to Become a Blinkit Seller
Before registering, make sure you meet the following criteria:
- Business Registration – You must have a GST registration for selling taxable products.
- Valid Documents – PAN card, Aadhaar card, address proof, and bank account in the business’s name.
- Product Categories – Blinkit mainly accepts grocery, dairy, bakery, snacks, beverages, packaged food, household items, and personal care.
- Smartphone & Internet – To manage the Blinkit Partner App for order tracking and inventory updates.
- Consistent Stock – Products must be available regularly, as stock-outs can lower your ranking.
Step-by-Step Process to Start Selling on Blinkit
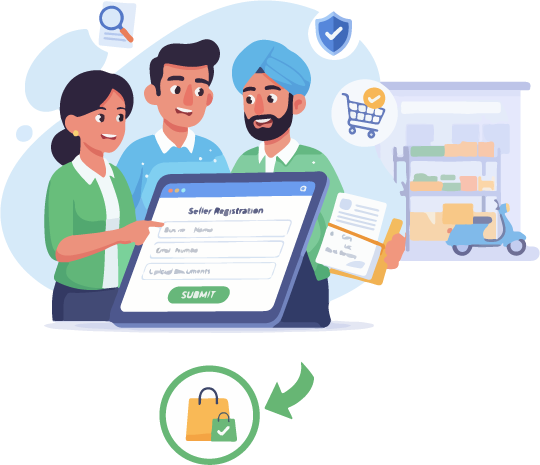
Step 1: Register on Blinkit Seller/Partner Portal
- Go to the Blinkit Partner Registration Page (official website), click the Sell on Blinkit button, and enter your email ID to login.
- Fill in your details such as business name, store address, contact info, and GST number.
- Upload scanned copies of required documents.
- Submit the application for verification.
- 💡 Tip: Keep all your documents ready in PDF or JPG format for faster approval.
Step 2: Verification & Approval
- Blinkit’s onboarding team will review your application.
- A background check may be done to confirm store authenticity.
- Once approved, you’ll get access to the Blinkit Seller Dashboard/Partner App.
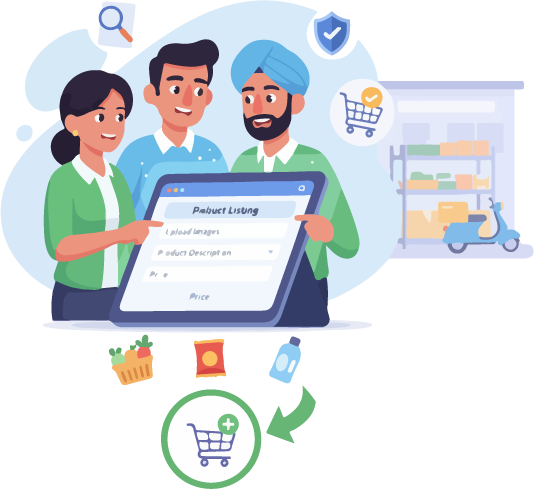
Step 3: Upload Your Product Catalog
- Log into the dashboard and add your products.
- For each item, add:
- Product name
- Category & subcategory
- MRP and selling price
- Stock availability
- Clear, high-resolution images
- Ensure prices are competitive, as customers often compare similar products.
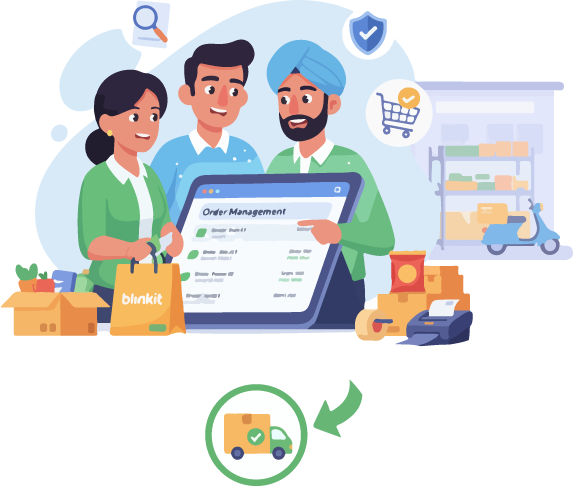
Step 4: Manage Orders in Real-Time
- Customers near your store will see your products on the Blinkit app.
- When someone places an order, you’ll receive a notification.
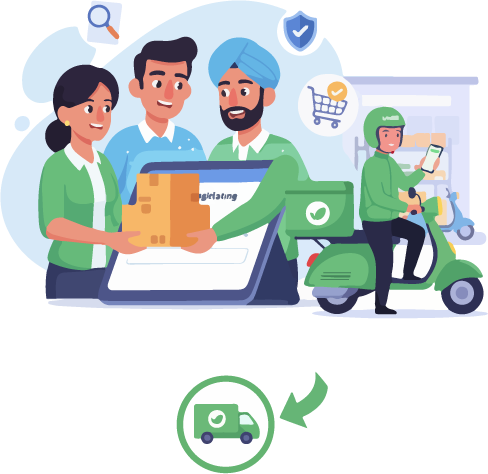
- Pack the products quickly and hand them over to Blinkit’s delivery partner.
Step 5: Payment & Settlements
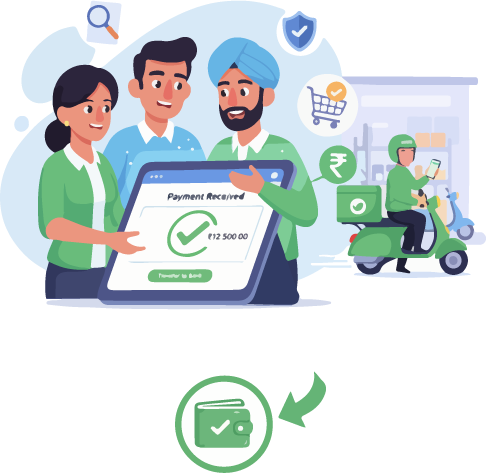
- Blinkit collects payments from customers (online or COD).
- You receive payouts directly to your bank account on a weekly or bi-weekly cycle (depending on your seller agreement).
- A small commission/fee is deducted by Blinkit.
💡 Tips to Boost Sales on Blinkit
- Stock Fast-Moving Items – Grocery staples, snacks, cold drinks, milk, bread, and cleaning products sell fastest.
- Offer Discounts – Even small discounts or combo packs increase visibility in the app.
- Use Attractive Product Images – Clear images improve click-through rates.
- Keep Inventory Updated – Avoid cancellations by maintaining accurate stock.
- Monitor Analytics – Use Blinkit’s seller dashboard to track top-selling products and customer trends.
- Maintain Speed & Accuracy – Blinkit rewards sellers with high fulfillment rates by showing them to more customers.
Benefits of Selling on Blinkit
- No need for your own delivery staff – Blinkit manages last-mile logistics.
- Access to a growing customer base – Perfect for both small retailers and large FMCG brands.
- Flexible business model – You can run your offline shop and online Blinkit store side by side.
- Data-driven growth – Blinkit provides reports to help optimize sales and pricing.
GROW YOUR BUSINESS WITH OUR PREMIUM AMAZON LISTING SERVICES
Boost your sales with our expert Amazon listing services, featuring SEO optimization, professional images, and competitive strategies
FAQ
How to Sell on Blinkit
If you run a grocery shop, supermarket, or FMCG brand, don’t miss out on the quick-commerce revolution. Start your Blinkit seller journey today and watch your business grow in 2025 and beyond!
Yes, GST registration is mandatory for most categories.
Grocery, packaged food, snacks, beverages, dairy, bakery, personal care, and household essentials.
Blinkit charges a commission (varies by category, usually between 10%–25%). Exact rates are shared during onboarding.
Payments are settled to your registered bank account weekly or bi-weekly after deducting commission.

